

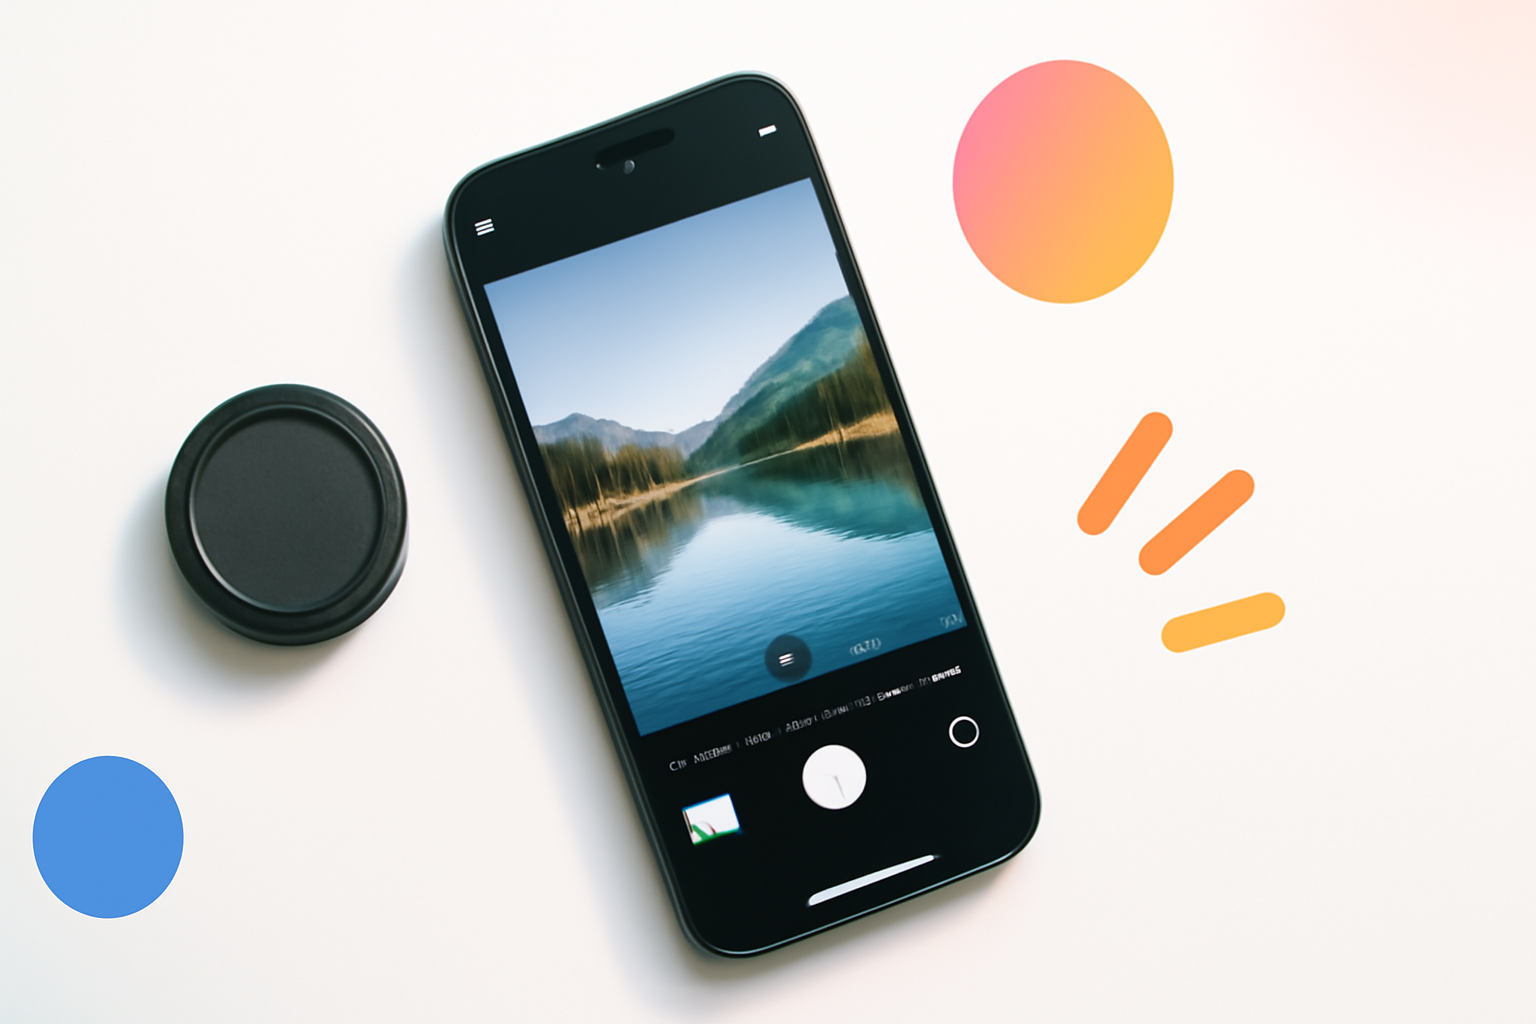
Your Phone Can Take Better Photos Than You Think
Most people walk around with a camera capable of producing stunning images tucked in their pocket — and then wonder why their photos look flat, blurry, or just plain disappointing. The gap between a mediocre snapshot and a genuinely great shot rarely comes down to the phone itself. It almost always comes down to technique.
Smartphone photography has matured dramatically over the last few years. Even mid-range Android phones and older iPhones can capture images that would have required professional equipment a decade ago. But the hardware only takes you so far. Knowing how to actually use it? That’s where things get interesting.
These smartphone photography tips for beginners focus on the decisions you make before you tap the shutter — because that’s where most photos are won or lost.
Clean Your Lens First (Seriously)
This sounds almost too obvious to mention, but it’s probably the most ignored step in mobile photography. Your phone lives in your pocket, your bag, and your hand. The camera lens picks up oil, dust, and fingerprints constantly.
A smudged lens creates soft, hazy images with reduced contrast — problems that no amount of post-processing can fully fix. Give the lens a quick wipe with a soft cloth before any important shot. Shirt fabric works in a pinch, but microfiber is better.
Stop Relying on Digital Zoom
When you pinch to zoom on your phone, you’re not actually zooming — you’re cropping the image and enlarging the pixels. The result looks pixelated and loses detail quickly, especially in low light.
A few better options:
- Move physically closer to your subject whenever possible
- Use the optical zoom if your phone has multiple lenses (most modern phones do — look for the 2x or 3x lens buttons)
- Shoot wide and crop in editing — you’ll retain far more detail this way
Optical zoom uses a separate physical lens to actually magnify the scene. Digital zoom just makes your photo bigger and worse. Know the difference and you’ll immediately notice an improvement in sharpness.
Understand How Light Actually Works
Light is the single most important factor in photography — not your phone model, not the megapixel count, not the AI processing. Everything starts with light.
The golden hour advantage
The hour after sunrise and the hour before sunset produce warm, soft, directional light that flatters almost any subject. Portraits taken in golden hour light look natural and glowing. Landscapes take on texture and depth that harsh midday sun simply flattens out.
If you have any control over timing, shoot during these windows whenever you can.
Dealing with harsh midday light
When you’re stuck shooting in bright midday sun, look for open shade — the shadow side of a building, under a tree, or beneath an overhang. The light there is still bright but diffused, which means fewer harsh shadows on faces and more even exposure across the frame.
Indoor and low-light situations
Smartphones struggle more in low light than dedicated cameras. Before reaching for the flash, try positioning your subject near a window or a lamp. Natural window light is far more flattering than the harsh, flat burst of your phone’s LED flash.
If you must shoot in dark conditions, keep the phone steady (more on that below) and accept that some noise or grain is inevitable. A slightly grainy photo with proper exposure beats a sharp, completely dark one.
Tap to Focus — and Lock It
Your phone’s camera doesn’t always know what you want in focus. By default, it guesses based on what’s in the center of the frame or what it detects as a face. That’s fine for quick snaps, but deliberate photography needs deliberate focus.
Tap on your subject in the camera app to set focus manually. On most phones, you’ll see a small box or circle appear where you tapped — that’s your focus point.
On iPhones, tap and hold to lock both the focus and exposure (you’ll see AE/AF Lock appear at the top). This stops the camera from constantly readjusting as you reframe the shot. Android phones have similar options, though the interface varies by manufacturer.
Exposure Adjustment Is a Game-Changer
After you tap to focus, most phone cameras show a small sun icon or slider that lets you adjust exposure — how bright or dark the image is. Sliding it up brightens the photo; sliding it down darkens it.
This is hugely underused by beginners. Slightly underexposing a shot (making it a touch darker than what the camera suggests) often preserves more detail in bright areas, especially skies. You can always brighten shadows in editing, but blown-out highlights — those pure white areas with zero detail — are gone for good.
A good habit: tap your subject, then slightly pull the exposure down if the background sky or bright lights look washed out. You’ll recover the sky and keep your subject properly lit.
Smartphone Photography Tips for Beginners: Getting Composition Right
Composition is how you arrange elements within the frame. It’s the difference between a photo that feels purposeful and one that looks like an accident.
The rule of thirds
Turn on the grid overlay in your camera settings (available on virtually every smartphone). This divides your screen into a 3×3 grid. Rather than centering your subject every time, try placing it along one of the vertical lines or at one of the intersection points.
It sounds rigid, but it creates images that feel naturally balanced. Horizons in landscape shots almost always look better placed on the top or bottom third line, not cutting straight through the middle.
Leading lines
Roads, fences, rivers, hallways, rows of trees — these naturally draw the viewer’s eye through the photo. When you spot a strong line in a scene, position yourself so it leads toward your main subject. It adds depth and directs attention without any editing required.
Simplify the background
Busy, cluttered backgrounds pull attention away from your subject. Before shooting, look at what’s behind your subject. Move slightly left or right, or crouch down to get a cleaner background. A plain wall, open sky, or out-of-focus greenery almost always works better than a chaotic scene behind your subject.
Keep the Camera Steady
Camera shake causes more blurry photos than any other factor. Your phone’s shutter needs to stay open slightly longer in lower light, and even small movements during that time create blur.
Practical ways to reduce camera shake:
- Hold your phone with both hands and tuck your elbows in toward your body
- Lean against a wall or rest your elbows on a surface when possible
- Use the volume button instead of tapping the screen to trigger the shutter — tapping creates more movement
- Use a small smartphone tripod for night shots, long exposures, or video
- Enable the timer (even 2 seconds) when the phone is propped up — it fires after you’ve removed your hand
Shoot in the Right Mode for the Situation
Modern smartphones pack a surprising number of shooting modes. Knowing when to use each one saves you from fighting the camera’s automatic choices.
| Mode | Best Used For | Watch Out For |
| Photo (Auto) | Everyday, well-lit scenes | May over-process colors |
| Portrait Mode | People, close-up subjects with blurred background | Struggles with complex edges like hair |
| Night Mode | Low-light scenes without fast movement | Requires holding very still for several seconds |
| Pro / Manual Mode | Full control over ISO, shutter speed, white balance | Steeper learning curve; easy to over/underexpose |
| Panorama | Wide landscapes, interiors, group shots | Moving subjects create distortion |
Edit, But Know When to Stop
Every photo benefits from at least a little editing. Shooting is only half the process. Apps like Lightroom Mobile, Snapseed, and even your phone’s built-in editor can transform a flat RAW capture into something that actually looks how the scene felt to your eyes.
A simple, effective editing sequence for beginners:
- Straighten the horizon if it’s slightly crooked
- Adjust exposure — just enough to make shadows visible and highlights not blown out
- Boost contrast slightly to add depth
- Pull the highlights down and lift the shadows a touch for a balanced, natural look
- Increase clarity or texture just slightly to add sharpness
- Adjust white balance if the colors look too orange (warm) or too blue (cool)
The temptation for beginners is to over-edit. Heavy filters, oversaturated colors, and extreme sharpening all date a photo quickly. Subtle edits that enhance what was already there almost always look better than heavy processing.
Practice Intentionally, Not Just Constantly
Taking more photos doesn’t automatically make you better at taking photos. Intentional practice does. Pick one element — composition, light, or focus — and work on just that for a week. Shoot the same subject in different light. Experiment with one technique until it becomes instinctive.
Look at photographers you admire, whether on Instagram, photography blogs, or in print, and try to understand why their images work. Then try to replicate the thinking behind the shot, not just the style.
The best smartphone photography tips for beginners aren’t about hidden settings or secret features. They’re about developing a way of seeing before you ever raise the camera — noticing light, reading a scene, and making deliberate choices about what you include in the frame and what you leave out.
Your phone is ready. The rest is up to you.
