

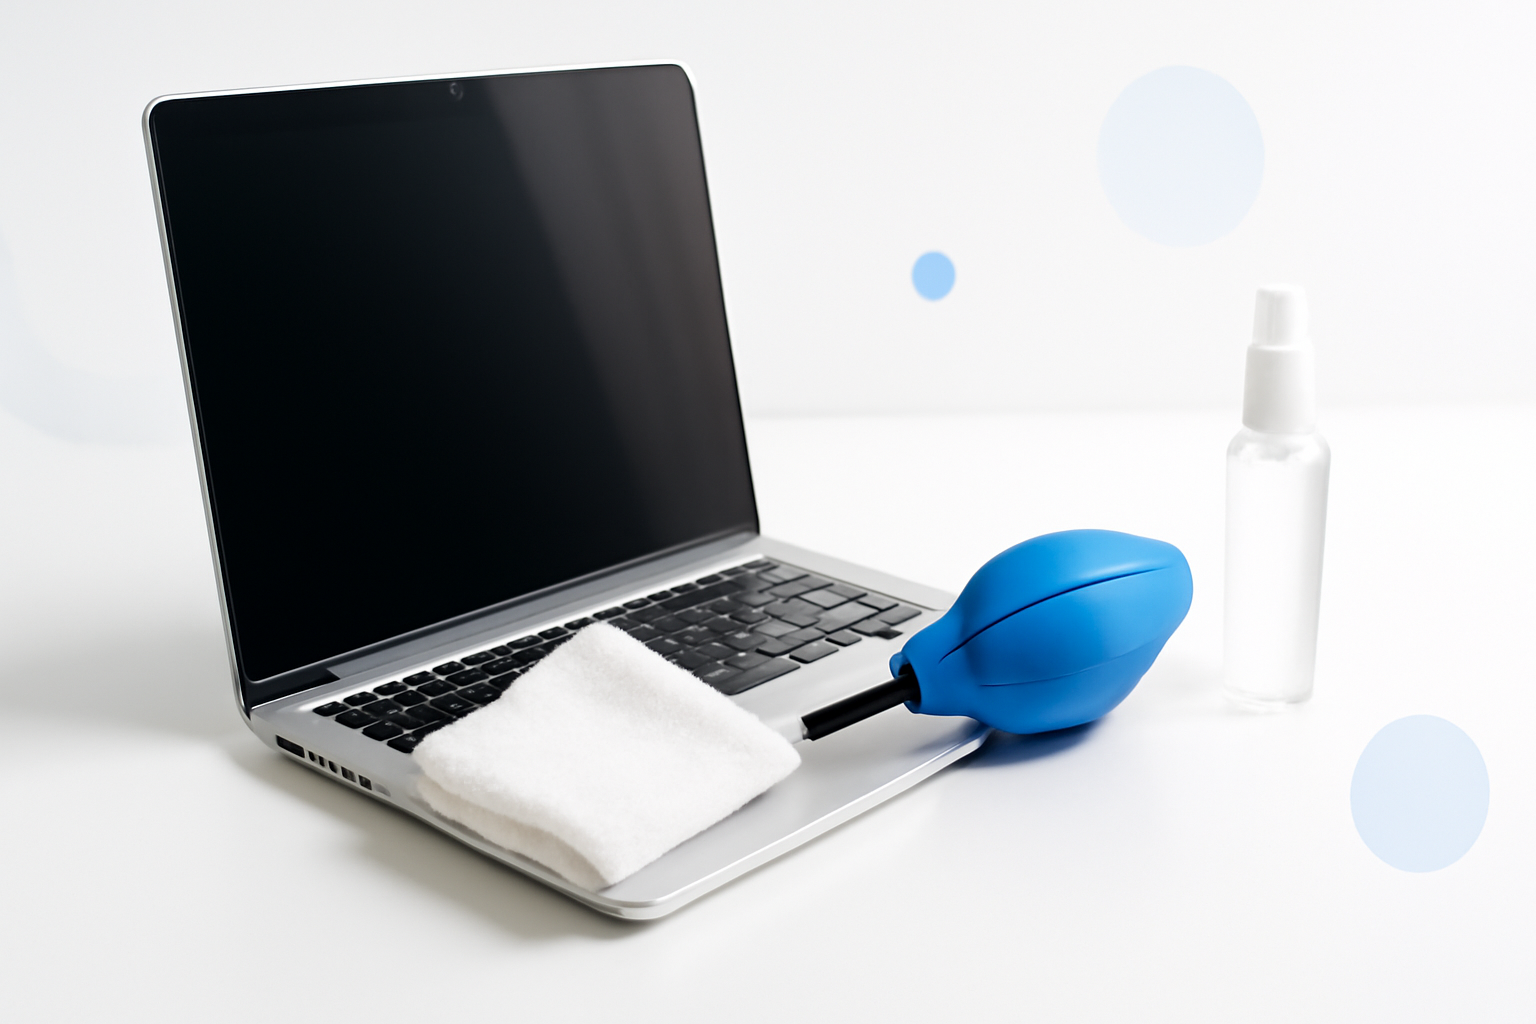
Your Laptop Keyboard Is Probably Dirtier Than You Think
Studies have found that the average keyboard harbors more bacteria than a toilet seat. That’s not a fun fact — it’s a wake-up call. Between crumbs, skin cells, dust, and the occasional coffee splash, laptop keyboards take a beating every single day.
The good news? Cleaning one properly doesn’t require special skills or expensive equipment. But it does require knowing what to use, what to avoid, and the right order to do things — especially if you want to avoid damaging the delicate electronics underneath those keys.
This walkthrough covers everything from a quick daily refresh to a deeper clean for keyboards that have seen better days.
What You’ll Need Before You Start
Having the right tools ready makes the process faster and safer. You don’t need much, but using the wrong things (like paper towels or harsh household cleaners) can scratch surfaces or push liquid into places it shouldn’t go.
- Isopropyl alcohol (70% or higher) — Evaporates quickly and disinfects without leaving residue
- Microfiber cloths — Soft enough not to scratch, effective at lifting debris
- Compressed air can or electric air blower — Gets into the gaps between keys
- Cotton swabs (Q-tips) — Great for tight corners and around individual keys
- Soft-bristled brush — An old toothbrush works well for dislodging stuck debris
- Keycap puller (optional) — Only needed if you’re doing a deep mechanical clean
- Sticky putty or slime cleaner — Pulls out fine dust and crumbs from crevices
Avoid bleach, ammonia-based cleaners, and anything with acetone. These can strip the coating off keycaps or damage the laptop’s finish. Regular window cleaner like Windex is also a no — it’s too harsh and too wet.
How to Clean a Laptop Keyboard Properly: Step-by-Step
The process depends on how dirty the keyboard is. Start with the gentler steps and work your way up only if needed.
Step 1: Power Down and Unplug Everything
This isn’t optional. Even a small amount of moisture near live components can cause a short. Shut the laptop down completely — not just sleep mode — and disconnect it from any power source. If the battery is removable, take it out.
Give it a few minutes to cool down if you’ve been using it. Working on a warm laptop with any kind of liquid is riskier than working on a cool one.
Step 2: Tilt and Shake Out the Loose Debris
Hold the laptop upside down at roughly a 75-degree angle and gently tap the back. You’ll be surprised what falls out — crumbs, dust clumps, hair. Do this over a sink or trash can.
Don’t shake it aggressively. A gentle tap and tilt is enough to dislodge surface debris without rattling anything inside.
Step 3: Use Compressed Air Between the Keys
This is where compressed air earns its place. Hold the can upright (tilting it can release liquid propellant) and spray in short bursts at an angle — not straight down into the keyboard.
Work in a consistent pattern: left to right, row by row. Pay extra attention to areas around the spacebar and number row where debris tends to collect. If you’re using an electric blower instead of a can, use a low-to-medium setting.
Step 4: Wipe Down the Keycaps
Dampen a microfiber cloth with isopropyl alcohol — it should be barely moist, not dripping. Wipe each key individually using light pressure. This removes finger grease, smudges, and surface bacteria.
For any letters or symbols that are printed on the keys (rather than laser-engraved or backlit), be gentle. Repeated heavy scrubbing can fade them over time.
Step 5: Clean Around and Between the Keys
Dip a cotton swab lightly in isopropyl alcohol and run it along the sides and gaps between keys. This is where the grime really builds up — especially around frequently used keys like Enter, Space, and Backspace.
A soft toothbrush works well here too. Use it dry or barely damp to scrub out any stubborn buildup at the edges of keycaps.
Step 6: Use Cleaning Putty for Fine Dust
Keyboard cleaning putty (sometimes called cyber clean or slime cleaner) is surprisingly effective. Press it gently into the gaps between keys, let it sit for a second, then peel it off. It pulls out fine particles that compressed air misses.
This step is optional but worth doing if you haven’t cleaned the keyboard in a while. The putty picks up what everything else leaves behind.
Step 7: Let It Dry Completely
Even though isopropyl alcohol evaporates quickly, give the keyboard at least 10–15 minutes before powering the laptop back on. If you used any slightly damp cloth, wait longer — up to 30 minutes to be safe.
Patience here is cheap insurance against a very expensive repair bill.
When to Do a Deeper Clean (Removing Keycaps)
If something has spilled onto the keyboard, or if keys are sticking despite a surface clean, you may need to remove the keycaps for a more thorough job.
This is more advanced and carries some risk — keycaps can break if removed incorrectly, and some laptop keyboards (especially ultra-thin models) have fragile scissor-switch mechanisms underneath.
How to Remove Keycaps Safely
- Use a keycap puller or gently slide a flathead screwdriver wrapped in tape under the key edge
- Apply upward pressure slowly and evenly — you should feel a soft click as it releases
- Never force a key that doesn’t want to come off. Not all laptop keycaps are designed to be user-removable
- Place removed keys in a small bowl so they don’t get lost
- Clean the exposed area with a cotton swab and isopropyl alcohol
- Let everything dry fully, then press each keycap back into place until you hear a click
Check your laptop model’s documentation or a quick search before doing this. Some MacBook keyboards, for example, have notoriously fragile butterfly-switch mechanisms that are easy to damage.
Dealing With a Liquid Spill
If you’ve just spilled something on the keyboard, the rules change. Speed matters, but so does not panicking and making it worse.
- Power off immediately — hold the power button down if needed
- Unplug and remove the battery if possible
- Turn the laptop upside down to let liquid drain away from the motherboard
- Blot — don’t wipe — excess liquid with a dry cloth
- Do not use a hairdryer — heat can warp components and push moisture deeper
- Leave it open and upside down for at least 24–48 hours before attempting to power on
Water is forgiving. Sugary drinks like soda, juice, or coffee with sugar are not — they leave sticky residue that causes keys to stick and corrodes contacts over time. If that’s what spilled, consider taking the laptop to a repair shop for a proper internal clean.
How Often Should You Actually Clean Your Keyboard?
| Cleaning Type | Recommended Frequency |
| Quick wipe-down (microfiber cloth) | Weekly |
| Compressed air + cotton swab clean | Monthly |
| Full deep clean with putty and alcohol | Every 3–6 months |
| Keycap removal and thorough clean | Once a year or after a spill |
If you eat near your laptop regularly, push the frequency up a notch. Food debris is the main culprit behind sticky keys and bacterial buildup.
Habits That Keep Your Keyboard Cleaner for Longer
Cleaning is reactive. These habits are preventative — and they make a real difference over time.
- Wash your hands before using the laptop — oils and food residue transfer directly to the keys
- Avoid eating over the keyboard — crumbs are the number one cause of debris buildup
- Use a keyboard cover — thin silicone covers protect the keys from dust and spills without affecting typing feel much
- Close the lid when not in use — dust settles on open keyboards quickly
- Keep drinks in a container with a lid when working nearby
None of these are drastic changes, but stacking even two or three of them together significantly reduces how often a deep clean becomes necessary.
The Right Way to Clean a Laptop Keyboard Is Worth the Effort
A clean keyboard isn’t just about aesthetics. Sticky keys affect productivity. Dust buildup can cause keys to misfire. And in worst-case scenarios, neglected spills can lead to corrosion that kills the keyboard entirely — or worse, damages the motherboard underneath.
Taking 15 minutes once a month to properly clean a laptop keyboard is one of the easiest ways to extend its life and keep it working the way it should. The tools are cheap, the process is simple, and the payoff — a keyboard that feels and functions like new — is well worth the small amount of effort.
Start with the compressed air and a microfiber cloth today. You can always go deeper next time once you get comfortable with the process.
