

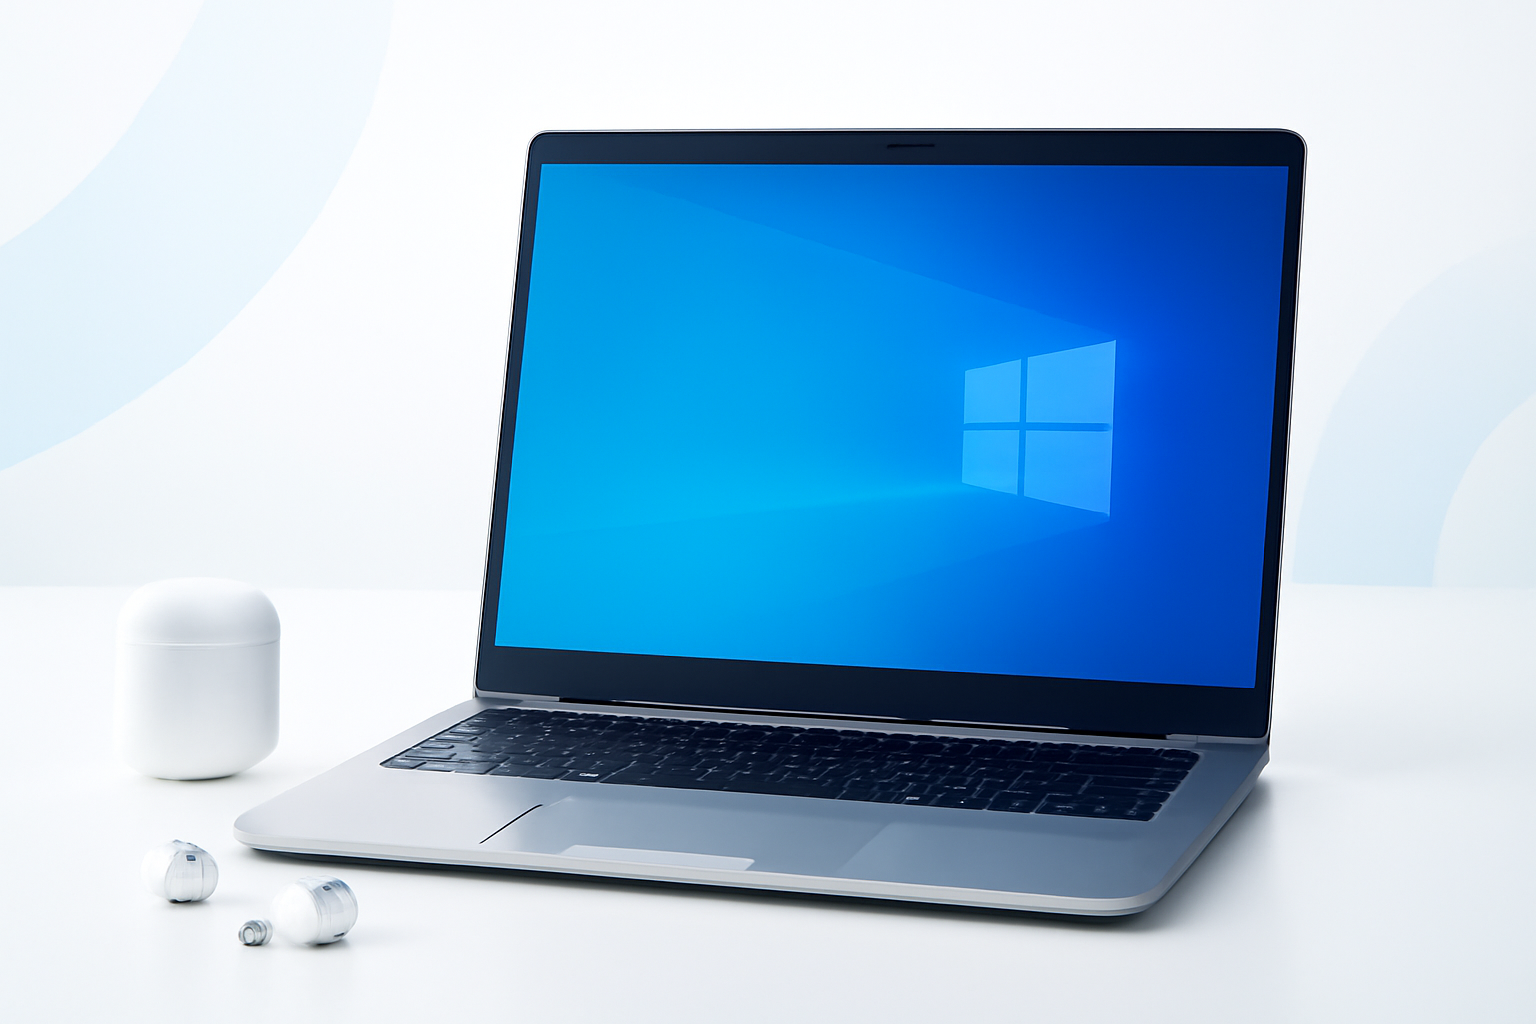
Yes, AirPods Work on Windows — Here’s How to Actually Get Them Connected
Most people assume AirPods are locked into the Apple ecosystem. Plug them into your iPhone, use them with your Mac, done. But AirPods are Bluetooth headphones at the end of the day, and Bluetooth is a universal standard. That means your Windows laptop can absolutely pair with them — it just takes a few extra steps that Apple doesn’t exactly advertise.
The process is straightforward once you know what you’re doing. The trickier part is understanding why things sometimes go wrong and how to fix them when they do.
Before You Start: What You’ll Need
You don’t need any special software or drivers. All you need is:
- A pair of AirPods (any generation — AirPods 1, 2, 3, Pro, or Max)
- A Windows laptop with Bluetooth support (Windows 10 or Windows 11)
- AirPods charged enough to pair (at least some battery in the case)
One thing worth checking before anything else: make sure your laptop’s Bluetooth is actually turned on. It sounds obvious, but a lot of people skip straight to pairing mode only to find Bluetooth was disabled in settings or through a function key.
How to Connect AirPods to a Windows Laptop — Step by Step
This works the same whether you’re on Windows 10 or Windows 11, with just a slight difference in where menus are located.
- Put your AirPods in the charging case and leave the lid open. Both earbuds should be inside.
- Press and hold the small button on the back of the case (the circular pairing button) until the LED light on the front starts flashing white. This puts your AirPods into pairing mode.
- On your Windows laptop, go to Settings → Bluetooth & devices (Windows 11) or Settings → Devices → Bluetooth & other devices (Windows 10).
- Make sure Bluetooth is toggled On.
- Click Add device (Windows 11) or Add Bluetooth or other device (Windows 10).
- Select Bluetooth from the popup window.
- Wait for your AirPods to appear in the list — they’ll show up as “AirPods” or sometimes your name’s AirPods.
- Click on them and select Connect or Pair.
- Once paired, you should see a “Your device is ready to go” message.
At this point, your AirPods should be connected. Try playing something to confirm audio is coming through correctly.
AirPods Not Showing Up in the Device List?
This is the most common sticking point. If your AirPods aren’t appearing, a few things could be happening:
- The case light isn’t flashing white — press and hold the back button longer until it does
- Your AirPods are still connected to another device (iPhone, iPad, Mac) — disconnect them there first
- Bluetooth on the laptop was just toggled on — give it 10–15 seconds to become fully active
- The AirPods battery is critically low — charge them briefly and try again
If they still don’t appear, try toggling Bluetooth off and on again on your laptop. Sometimes the radio needs a refresh to start scanning properly.
Setting AirPods as Your Default Audio Device
Just because your AirPods are connected doesn’t always mean Windows will automatically route audio through them. Windows has a habit of sticking with whatever output device it was using before.
Here’s how to make sure your AirPods are actually being used:
- Right-click the speaker icon in the bottom-right taskbar
- Select Sound settings (or “Open Sound settings”)
- Under Output, use the dropdown to select your AirPods
You can also quickly switch audio devices by clicking the speaker icon in the system tray and selecting from the output dropdown directly — this is faster once you’ve done it a few times.
The Two Device Modes: Headphones vs. Headset
This is something Windows handles differently from Apple devices, and it trips a lot of people up.
When AirPods connect to a Windows laptop, they often appear as two separate devices in the audio output list:
| Mode | Audio Quality | Microphone |
| Headphones (Stereo) | High quality | Not available |
| Headset (Hands-Free) | Lower quality (mono-ish) | Available |
If you’re just listening to music or watching videos, choose the Headphones mode — the audio quality is noticeably better.
If you’re on a video call and need the mic, you’ll need to switch to Headset mode. The audio quality takes a hit, but that’s a Bluetooth limitation on Windows, not a fault with your AirPods specifically.
Some apps like Zoom or Microsoft Teams let you set input and output devices separately, so you can sometimes use Headphones mode for playback while using a different microphone — worth checking in the app’s audio settings.
Does Noise Cancellation Work on Windows?
This comes up constantly for AirPods Pro and AirPods Max users. The short answer: not in the same way.
Active noise cancellation is hardware-level on AirPods — it runs through Apple’s H1 or H2 chip and processes audio independently. So the basic noise cancellation still works physically when you wear them, regardless of what device they’re connected to.
What won’t work on Windows:
- Switching between ANC and Transparency mode via software
- Automatic ear detection (pausing when you remove an earbud)
- Siri integration
- Battery percentage notifications in the taskbar
- Spatial audio features (as implemented by Apple)
You can still squeeze the stem on AirPods Pro to switch modes manually — that still works. You just lose the smart software layer that Apple devices get.
Reconnecting AirPods After the First Pairing
Here’s where Windows gets a bit annoying. Unlike iPhones, which seamlessly reconnect to AirPods whenever they’re nearby, Windows requires a slightly more hands-on approach.
To reconnect already-paired AirPods:
- Take the AirPods out of the case (or open the case if they’re already in)
- Go to Settings → Bluetooth & devices
- Find your AirPods in the device list and click Connect
Or, right-click the Bluetooth icon in the system tray and manage devices from there — slightly faster.
Unfortunately, there’s no native auto-connect feature in Windows that works as smoothly as the Apple side. Some third-party apps like MagicPods (available on the Microsoft Store) add better AirPods integration to Windows, including battery status and auto-connect behavior. It’s not free, but if you use AirPods on Windows regularly, it’s worth considering.
Common Problems and Quick Fixes
AirPods Keep Disconnecting
This usually happens because of Bluetooth power management settings. Windows sometimes puts Bluetooth adapters into a low-power state to save battery.
Fix it by going to Device Manager, finding your Bluetooth adapter, right-clicking → Properties → Power Management tab, and unchecking “Allow the computer to turn off this device to save power.”
Audio Sounds Robotic or Choppy
This typically means Windows switched to Headset mode automatically. Check your active playback device in Sound Settings and make sure it’s set to Headphones (stereo) rather than the Hands-Free profile.
Only One Earbud Playing Sound
Check your Windows sound balance settings. Go to Sound Settings → Device properties for your AirPods and confirm the left/right balance is centered (both at 100).
Can’t Remove Old AirPods Pairing
Sometimes pairings get stuck. Go to Bluetooth settings, find your AirPods, click the three-dot menu or “Remove device,” confirm, then re-pair from scratch. Put the AirPods back into pairing mode by holding the case button until the light flashes white again.
Getting the Most Out of AirPods on Windows
You won’t get the full Apple experience — that’s just the reality. But for everyday use like video calls, music, and YouTube, AirPods perform well on a Windows laptop once you know how to manage them.
A few habits that make things smoother:
- Always open the Sound settings shortcut in your taskbar so switching devices takes seconds
- If using AirPods Pro, remember you can still manually switch noise cancellation modes with the stem squeeze
- For calls, accept the lower audio quality in Headset mode — it’s good enough for most video meetings
- Consider MagicPods if you switch between Windows and Apple devices often and want a more seamless experience
Final Thoughts on Using AirPods With Windows
Connecting AirPods to a Windows laptop isn’t complicated once you’ve done it once. The pairing process itself takes under two minutes, and most issues people run into — like audio not routing correctly or the mic not working — have simple fixes in the Sound settings.
The experience isn’t as polished as using AirPods with an iPhone or Mac, but it’s more than functional. For anyone who already owns AirPods and wants to use them across both ecosystems, knowing how to connect AirPods to a Windows laptop properly means you don’t need a separate pair of headphones just for work.
Once it’s set up, it just works — which is all most people really need.
